How to Use a Makerspace in the ELA Classroom
The Makerspace. A place for all the STEM teachers and students, right? WRONG! A Makerspace is something I couldn’t fully wrap my head around as an ELA teacher at the beginning, but after a few ideas (attempts and failures), I found a few things that helped me embrace the messy, hands-on possibilities for my ELA classroom.
If you’re more of an auditory learner (or you just don’t have time to read because you’re on your way to school!), you can listen to my ideas on the Brave New Teaching podcast on Episode 64. Find us on iTunes or right here to listen to the full episode!
If you have a bit more time to read, then here’s the slightly longer version…
As the great Ms. Frizzle says, take chances, make mistakes, GET MESSY!
The same rings true when using a makerspace in your classroom. You name it, it’s possible in a makerspace.
If you aren’t familiar with a makerspace, it is a place where students can create, problem solve, and collaborate. One of the greatest benefits of implementing a makerspace is that it shakes things up from your normal routine. It gives your students the chance to get silly and creative while giving you the gift of seeing your kids in a totally different light. Not only does it foster learning through inquiry, but it also helps to build overall classroom community.
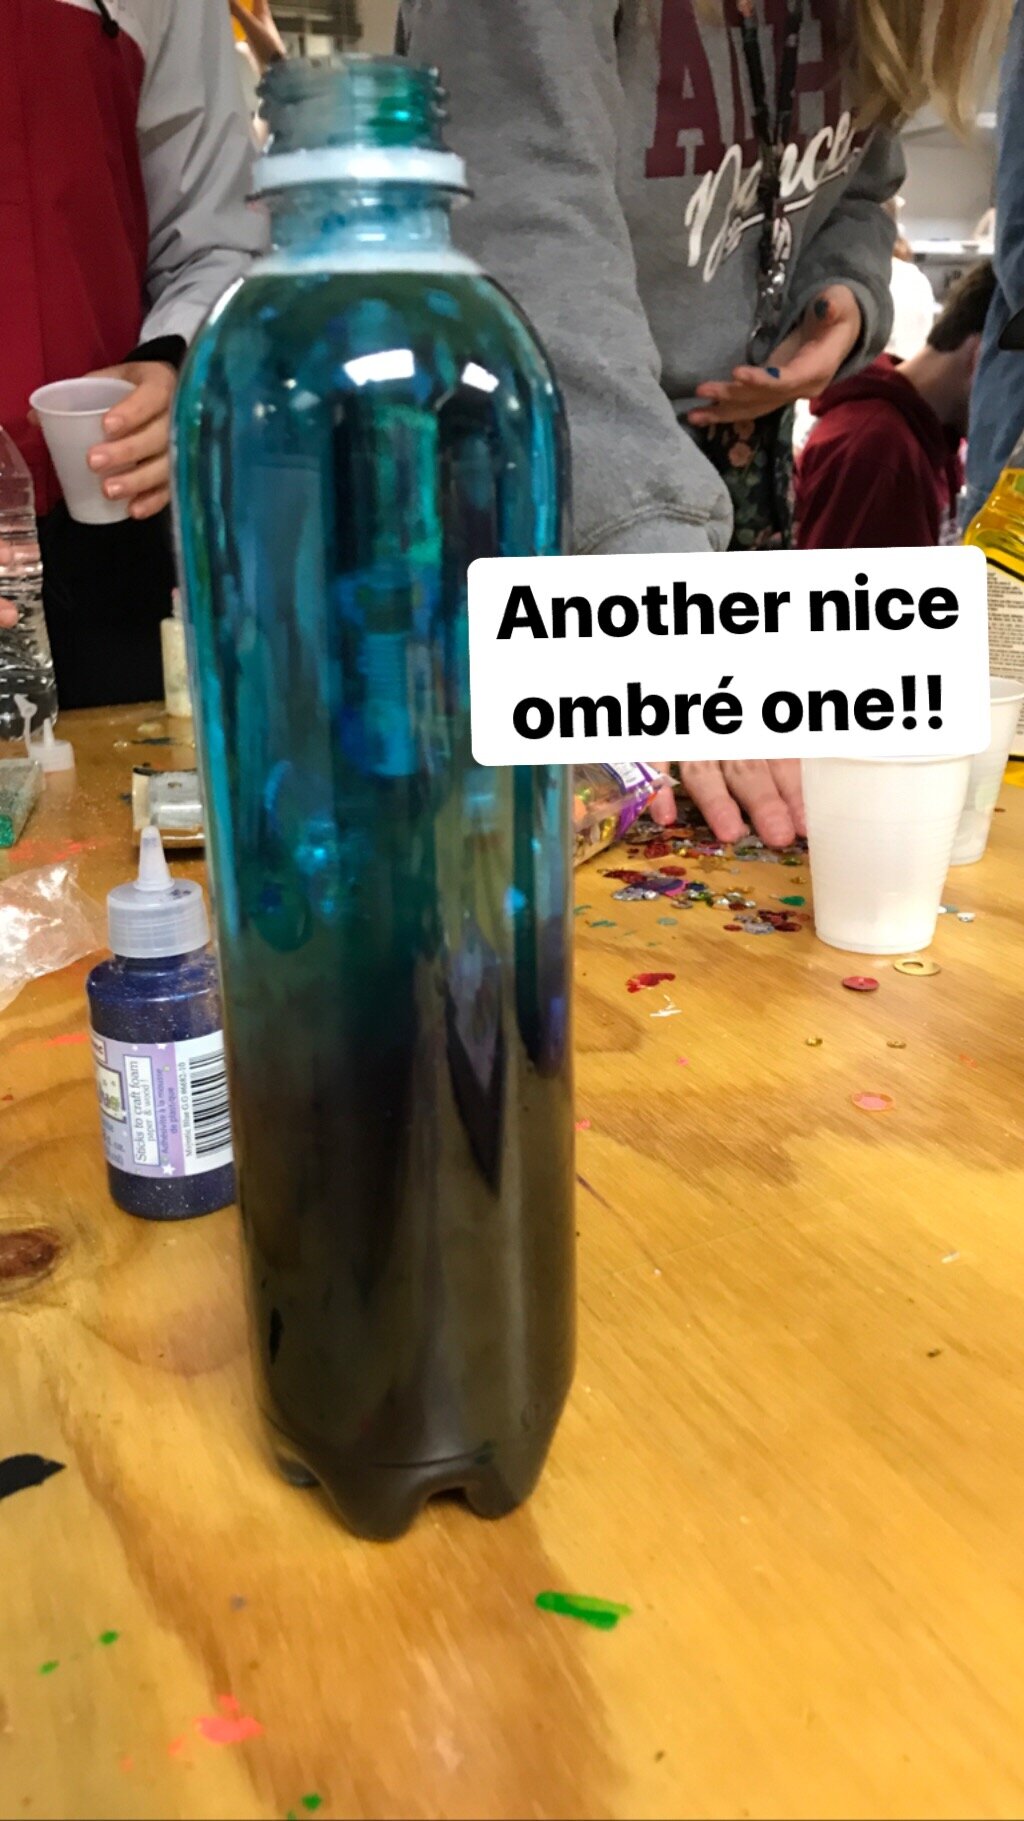
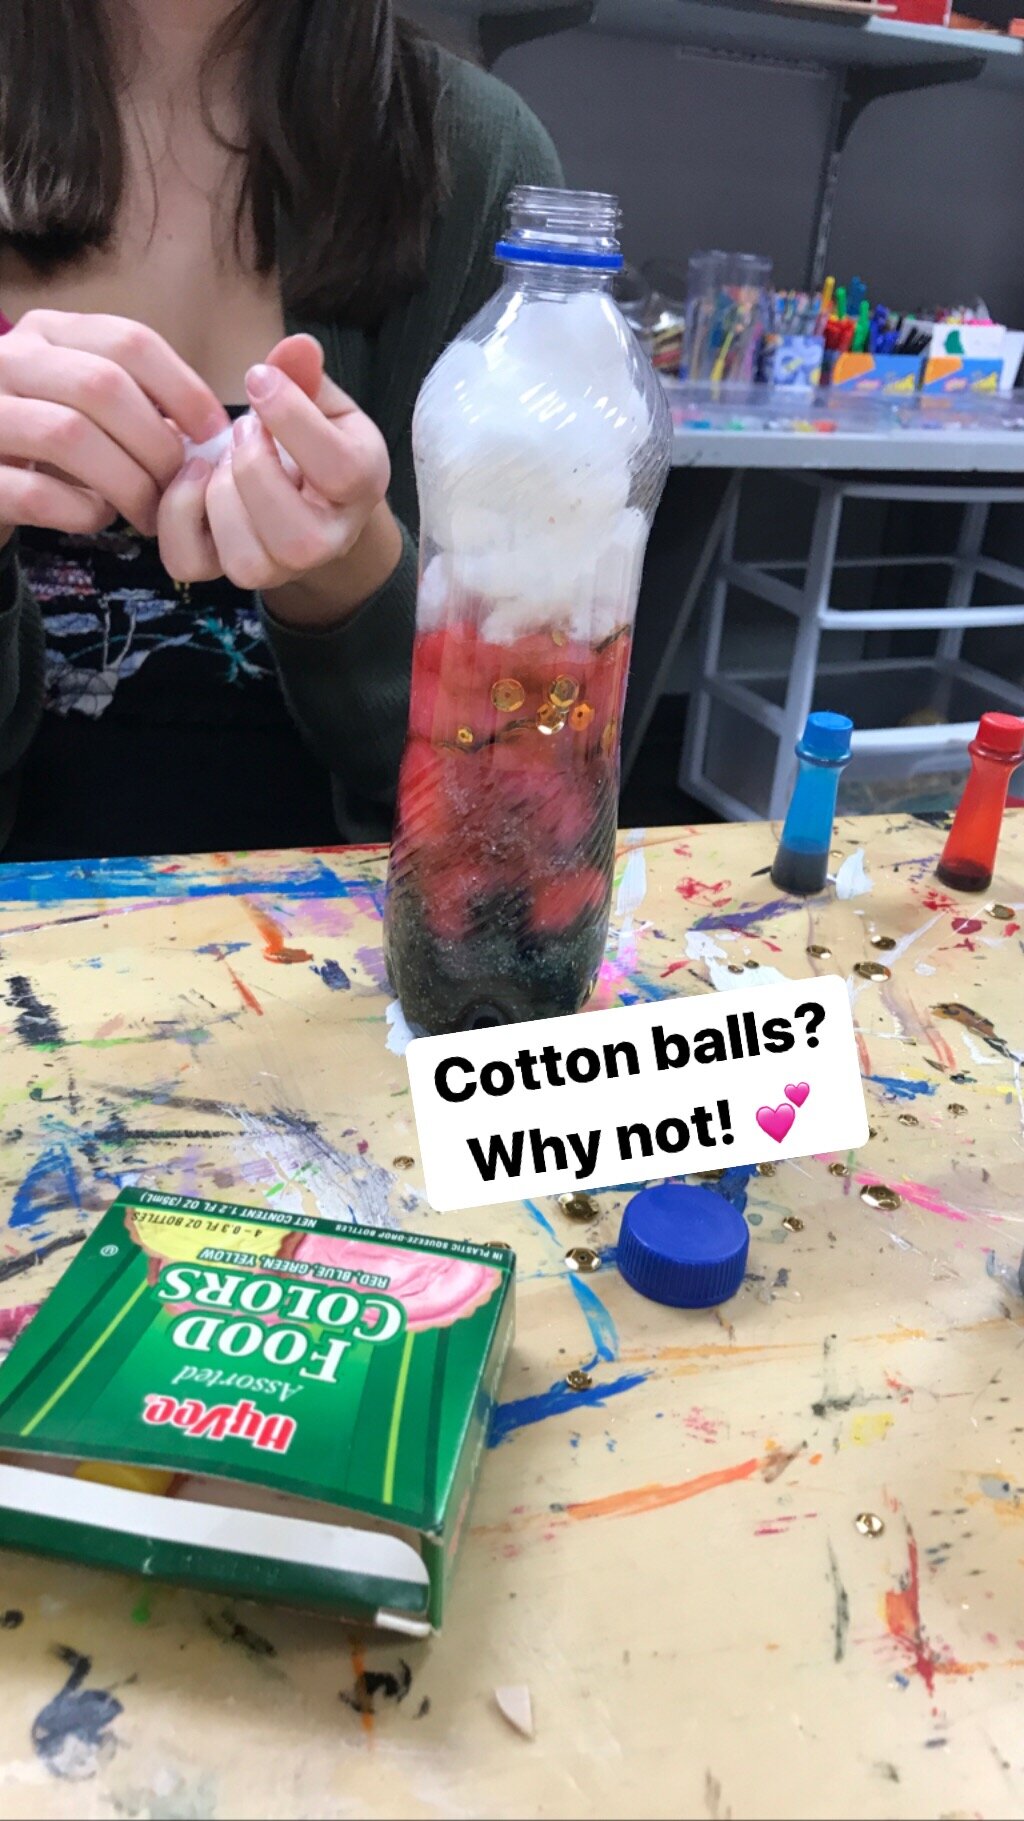
One of my favorite projects that I’ve done with my students was creating tone bottles to help them analyze the tone shifts in pre-selected passages from The Great Gatsby. The project itself is a bit silly, but the results were powerful in watching my students become more careful and close readers than they ever were before.
THE SPACE
Your makerspace doesn’t have to be organized in a meticulous or beautiful way. It should be full of odds and ends, most of which you probably have lying around your house. No matter what you include, your kids will find a way to use it! Consider:
Making your space mobile and shared. Find an abandoned cart and team up with a few other teachers to fill it with bits and bobs and slowly grow your supply stash over time.
This 3-tier rolling cart is awesome — I used it for a classroom library at school and now it’s a Makerspace cart for my toddlers at home!
Consider purchasing a green screen for anytime you want students to create something to film (reenacting a scene, a parody of a character, etc.)
Fabric scraps
Scrapbooking paper
Scissors
Hot glue and glue sticks
Things with glitter. And maybe some actual glitter. That’s up to you.
THE PROJECTS
The makerspace project that students create doesn’t need to be immediately rigorous, challenging, or even totally purposeful. Lean into the fun, frivolous, and silly for the project itself. We have the (good) tendency to want to make sure every single part of our instruction lines up neatly with skills and standards, but trust me, if you let go of the reins a bit in the “making” portion of this assignment, you’ll get a beautiful bang out of the analysis and reflection portion of the assignment.
WHAT TO MAKE?
A renactment of a scene using Legos (or headless Barbies, finger puppets, old socks, whatever)
An old-school diorama
A shoe box themed and filled to answer a question
A recreation of an important element of setting
A recreation of a motif or symbol
HOW TO ANALYZE?
What did you select in the creation of _________?
Why/how do these items accurately reflect ________?
How does this scene/symbol/object further contribute to your understanding of our Essential Question?
Given the limited supplies you had, why did you make x, y, and z choices?
Did you create your project based on your own interpretation (lens) of the text or did you attempt to recreate the author’s intention? Why?
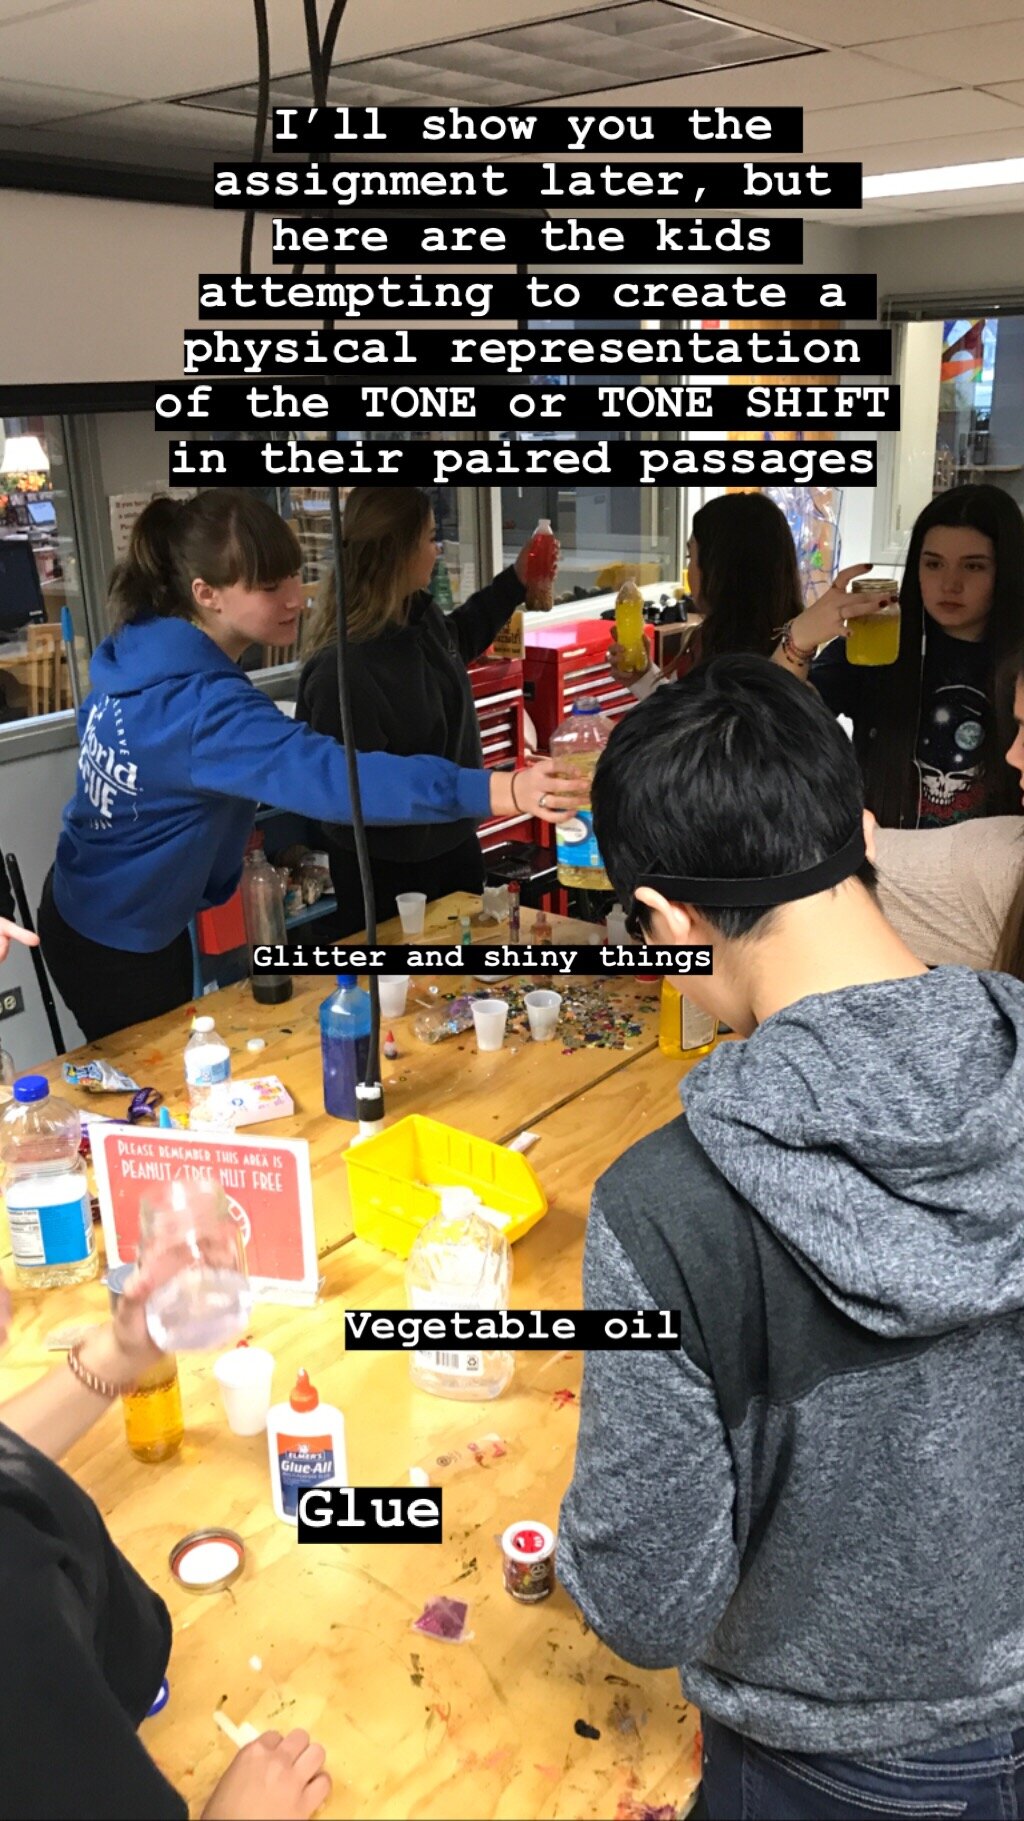
THE GATSBY TONE BOTTLE
Valerie A. Person’s blog post inspired me to give this a shot in my AP Lang classroom. With her ideas in mind, I decided to challenge my students to select a passage from chapters 4 & 5 of The Great Gatsby and create a tone bottle that reflected the shift in tone from the beginning of the passage to the end of the passage. I then ALSO asked them to find a poem that had a similar tone or tone shift so that we could explore them as a pair.
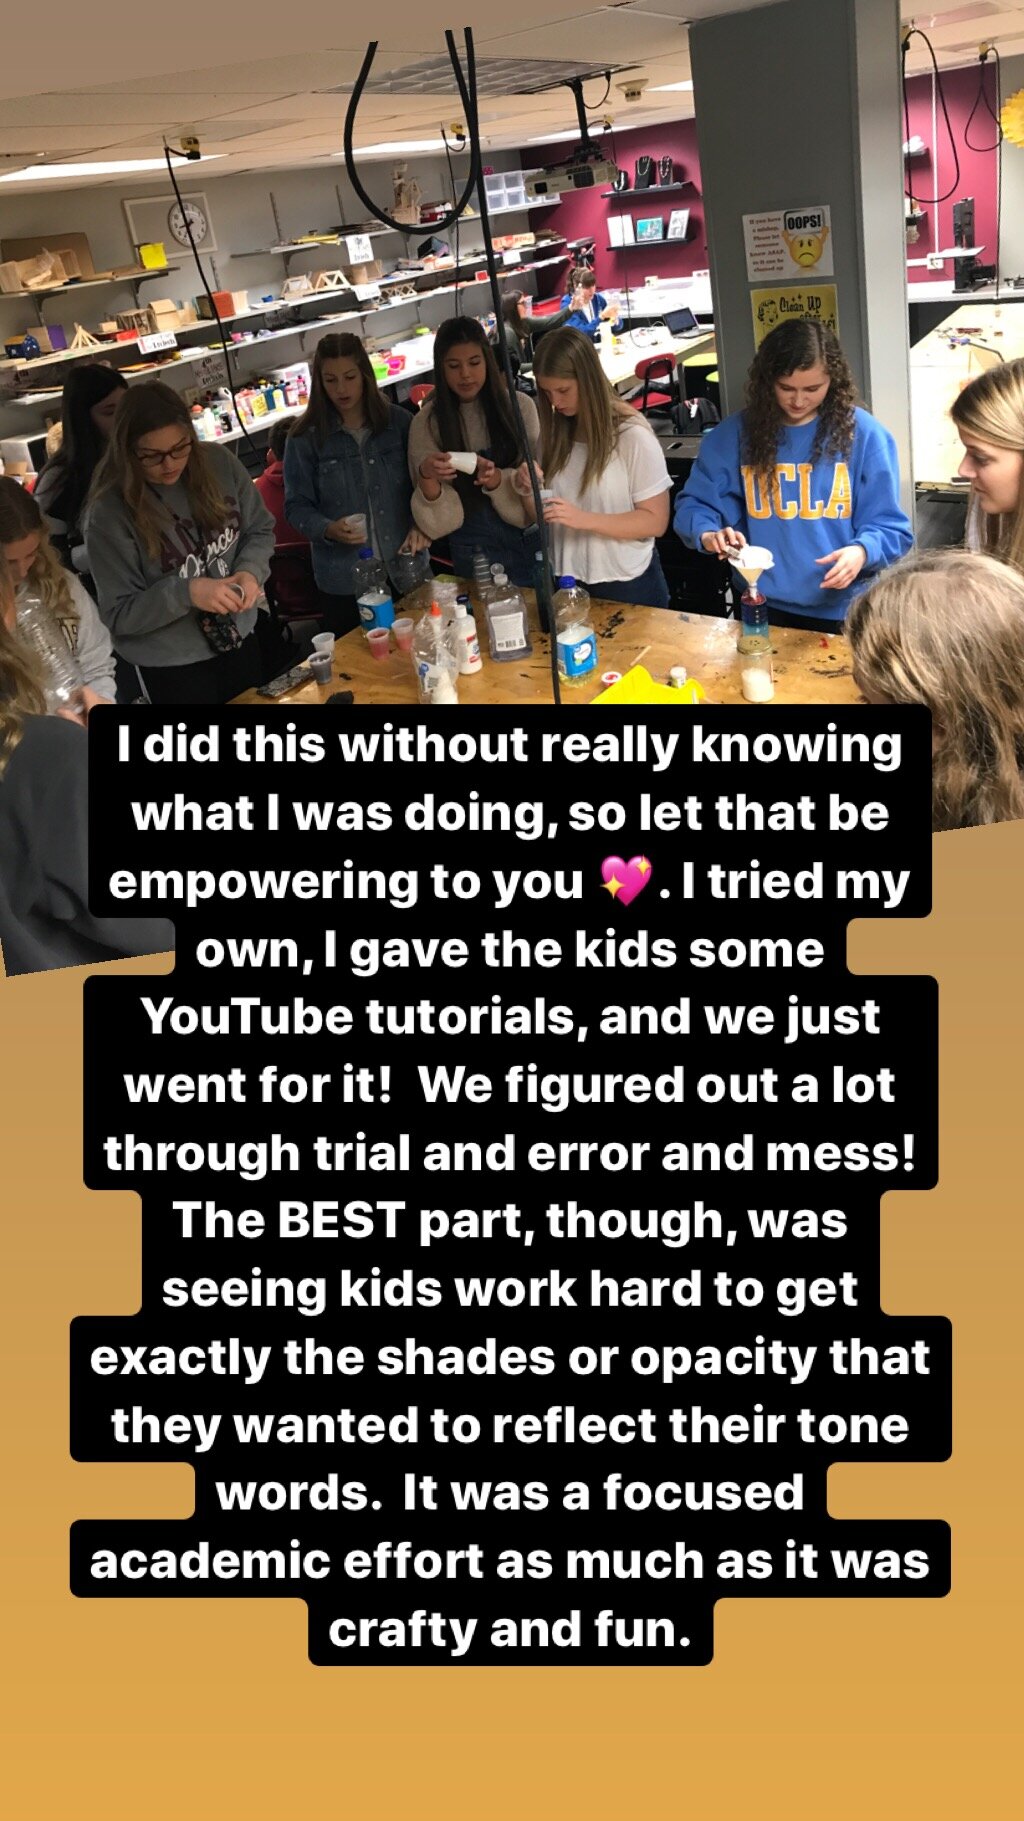
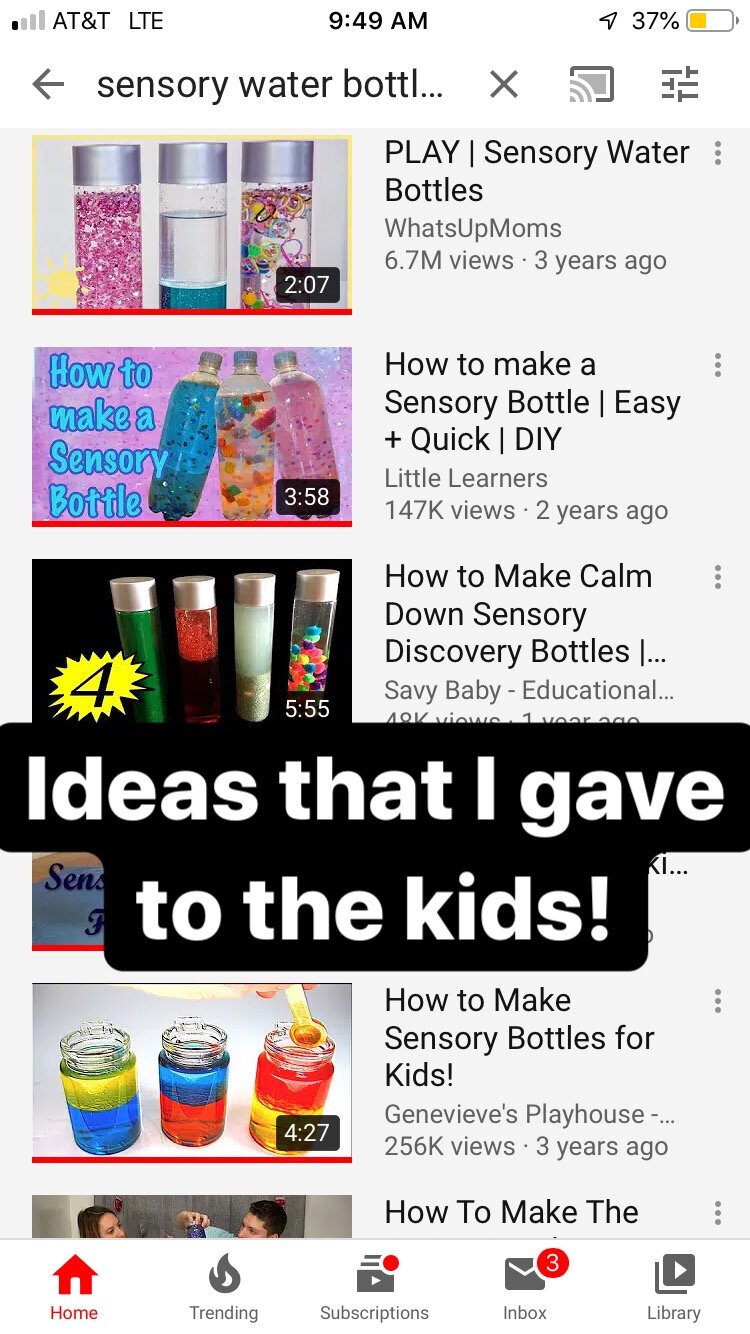
It’s important to note that although this is a “makerspace project”, something that will involve obscene amounts of baby oil and glitter, the project begins and ends with textual analysis of TONE. I’m not trying to trick my kids here, but the reality is, we’re spending more time than they realize on the analysis part. Even the messy, maker part of the process is dependent on their initial analysis — they won’t even know what to put into the bottles if they haven’t analyzed (and reread and checked in with me!) the passage in the first place.
I’m happy to share my interpretation of this idea with you all. Here are a few pictures of how the project went, the sample I wrote for students, and a form to complete that will allow me to send over everything I have!